|
|
||
|---|---|---|
| .github | ||
| LICENSE | ||
| README.md | ||
| quickemu | ||
README.md

Quickemu
Simple shell script to "manage" Qemu virtual machines.
Made with 💝 for ![]()
Introduction
Quickemu is a very simple script to "manage" Qemu virtual machines. Each virtual machine configuration is broadly the same requiring minimal setup. The main objective of the project is to enable quick testing of desktop Linux distributions where the virtual machines can be stored anywhere, such as external USB storage.
Quickemu is opinionated and will attempt to "do the right thing" rather than expose rich configuration options. Quickemu is a frontend to the fully accelerated qemu-virgil. See the video where I explain some of my motivations for creating this script.
We have a Discord for this project:

Installation
Clone this repository:
git clone https://github.com/wimpysworld/quickemu.git
Install the qemu-virgil snap. You can find details about how to install snapd
and qemu-virgil on the Snap Store page for qemu-virgil
snap install qemu-virgil --edge
snap connect qemu-virgil:audio-record
snap connect qemu-virgil:kvm
snap connect qemu-virgil:raw-usb
snap connect qemu-virgil:removable-media
Usage
Linux
- Download a .iso image of a Linux distribution
- Create a VM configuration file; for example
ubuntu.conf- The default
guest_osislinux, so this is optional for Linux VM configs. - The
bootoption enables Legacy BIOS (legacy) or EFI (efi) booting.legacyis the default.
- The default
boot="legacy"
guest_os="linux"
iso="/media/$USER/Quickemu/ubuntu/focal-desktop-amd64.iso"
disk_img="/media/$USER/Quickemu/ubuntu/focal-desktop-amd64.qcow2"
disk=128G
port_forwards=("8123:8123" "8888:80")
usb_devices=("046d:082d" "046d:085e")
- Use
quickemuto start the virtual machine:
./quickemu --vm ubuntu-focal-desktop.conf
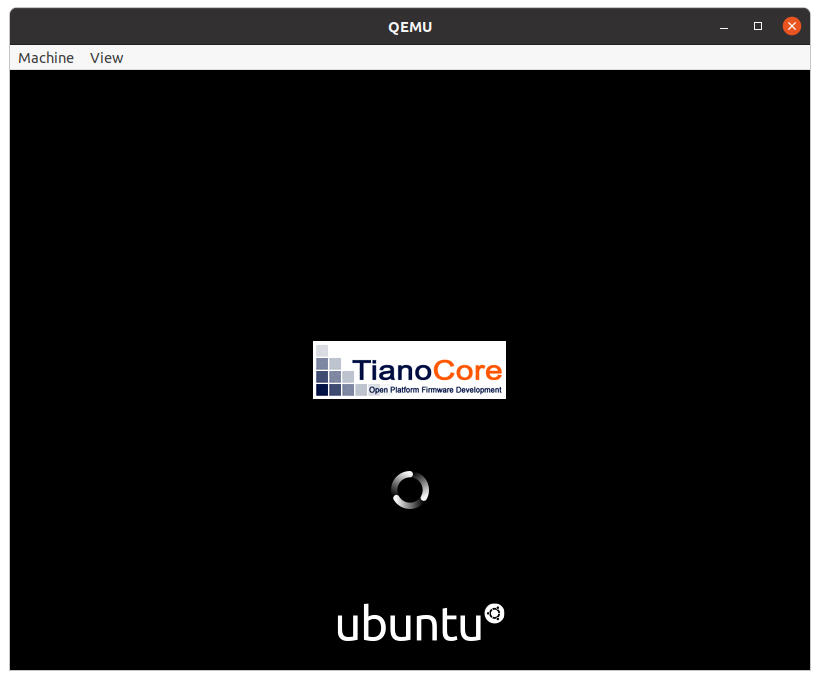
Which will output something like this:
Starting /media/martin/Quickemu/ubuntu-focal-desktop.conf
 - QEMU:     /snap/bin/qemu-virgil v4.2.0
 - Guest:    Linux optimised
 - BIOS:     Legacy BIOS
 - Disk:     /media/martin/Quickemu/ubuntu/focal-desktop-amd64.qcow2 (64G)
 - ISO:      /media/martin/Quickemu/ubuntu/focal-desktop-amd64.iso
 - CPU:      4 Core(s)
 - RAM:      4G
 - Screen:   1664x936
 - Video:    virtio-vga
 - GL:       ON
 - Virgil3D: ON
 - Display:  SDL
 - smbd:     /home/martin will be exported to the guest via smb://10.0.2.4/qemu
 - ssh:      22221/tcp is connected. Login via 'ssh user@localhost -p 22221'
 - PORTS:    Port forwards requested:
              - 8123 => 8123
              - 8888 => 80
 - USB:      Device pass-through requested:
              - Logitech, Inc. HD Pro Webcam C920
              - Logitech, Inc. Logitech BRIO
             Requested USB device(s) are accessible.
-
Complete the installation as normal.
-
A Desktop shortcut can be created (in ~/.local/share/applications):
./quickemu --shortcut --vm ubuntu-focal-desktop.conf
Windows 10
You can use quickemu to run a Windows 10 virtual machine.
- Download Windows 10
- Download VirtIO drivers for Windows
- Create a VM configuration file; for example
windows10.conf- The
bootoption enables Legacy BIOS (legacy) or EFI (efi) booting.legacyis the default. - The
guest_os="windows"line instructsquickemuto use optimise for Windows.
- The
boot="legacy"
guest_os="windows"
iso="/media/$USER/Quickemu/windows10/Win10_1909_English_x64.iso"
driver_iso="/media/$USER/Quickemu/windows10/virtio-win-0.1.173.iso"
disk_img="/media/$USER/Quickemu/windows10/windows10.qcow2"
disk=128G
port_forwards=("8123:8123" "8888:80")
usb_devices=("046d:082d" "046d:085e")
- Use
quickemuto start the virtual machine:
./quickemu --vm windows10.conf
Which will output something like this:
Starting /media/martin/Quickemu/windows10.conf
 - QEMU:     /snap/bin/qemu-virgil v4.2.0
 - Guest:    Windows optimised
 - BIOS:     Legacy BIOS
 - Disk:     /media/martin/Quickemu/windows10/windows10.qcow2 (64G)
             Just created, booting from /media/martin/Quickemu/windows10/Win10_1909_English_x64.iso
 - Boot:     /media/martin/Quickemu/windows10/Win10_1909_English_x64.iso
 - Drivers:  /media/martin/Quickemu/windows10/virtio-win-0.1.173.iso
 - CPU:      4 Core(s)
 - RAM:      4G
 - Screen:   1664x936
 - Video:    qxl-vga
 - GL:       ON
 - Virgil3D: OFF
 - Display:  SDL
 - smbd:     /home/martin will be exported to the guest via smb://10.0.2.4/qemu
 - ssh:      22221/tcp is connected. Login via 'ssh user@localhost -p 22221'
 - PORTS:    Port forwards requested:
              - 8123 => 8123
              - 8888 => 80
 - USB:      Device pass-through requested:
              - Logitech, Inc. HD Pro Webcam C920
              - Logitech, Inc. Logitech BRIO
             Requested USB device(s) are accessible.
- During the Windows 10 install you will be asked "Where do you want to install Windows?"
- Click Load driver and OK the the dialogue box that pops up.
- Select
VirtIO SCSI controller (E:\amd64\w10\viostor.inf)from the list and click Next. - The disk will now be available for partitioning and formatting.
- Complete the installation as you normally would.
- Post-install you should run the VirtIO installer from the CD-ROM: drive.
macOS
Optional extras for macOS
If you want to run macOS then quickemu requires some additional utilities.
rot13 from bsdgames is used to "decrypt" the OSK key.
sudo apt install bsdgames wget
There are some considerations when running macOS via Quickemu.
quickemuwill automatically download the required Clover EFI bootloader and OVMF firmware from the macOS-Simple-KVM project.- macOS 10.14.3 or newer is supported:
- VirtIO block devices QEMU standard VGA are supported since macOS 10.14.3 (Mohave).
- VirtIO
usb-tabletdevices are supported since macOS 10.11 (El Capitan). - vmxnet3 network devices are supported since macOS 10.11 (El Capitan).
- Running macOS on QEMU required the guest CPU is set to
Penryn. - This is a very old architecture, so to unlock higher CPU performance; AVX, AES-NI, SSE et al are enabled.
- UHCI USB (USB 2.0) is the fastest supported.
- USB pass-through has not been tested.
You can use quickemu to run a macOS virtual machine.
- Download macOS using
fetch-macos.py
wget https://raw.githubusercontent.com/foxlet/macOS-Simple-KVM/master/tools/FetchMacOS/fetch-macos.py -O fetch-macos.py
chmod +x fetch-macos.py
./fetch-macos.py
qemu-virgil.qemu-img convert BaseSystem/BaseSystem.dmg -O raw BaseSystem.img
- Create a VM configuration file; for example
macos.conf- The
guest_os="macos"line instructsquickemuto use optimise for macOS. - The
img=sets the boot disk that you downloaded withfetch-macos.py
- The
guest_os="macos"
img="/media/$USER/Quickemu/macos/BaseSystem.img"
disk_img="/media/$USER/Quickemu/macos/macos.qcow2"
disk=128G
port_forwards=("8123:8123" "8888:80")
usb_devices=("046d:082d" "046d:085e")
- Use
quickemuto start the virtual machine:
./quickemu --vm macos.conf
Which will output something like this:
Starting macos.conf
 - QEMU:     /snap/bin/qemu-virgil v4.2.0
 - BOOT:     EFI
 - Guest:    Macos optimised
 - Disk:     /media/martin/Quickemu/macos/macos.qcow2 (64G)
             Just created, booting from /media/martin/Quickemu/macos/BaseSystem.img
 - CPU:      4 Core(s)
 - RAM:      4G
 - Screen:   1664x936
 - Video:    VGA
 - GL:       ON
 - Virgil3D: OFF
 - Display:  SDL
 - smbd:     /home/martin will be exported to the guest via smb://10.0.2.4/qemu
 - ssh:      22223/tcp is connected. Login via 'ssh user@localhost -p 22223'
 - PORTS:    Port forwards requested:
              - 8123 => 8123
              - 8888 => 80
- Boot from the BaseSystem
- Click Disk Utility and Continue
- Select
Apple Inc. VirtIO Block Mediathat is ~68GB from the list and click Erase. - Enter a
Name:for the disk and click Erase. - Click Done.
- Close Disk Utility
- Click Reinstall macOS and Continue
- Complete the installation as you normally would.
All the options
Here are the full usage instructions:
Usage
  quickemu --vm ubuntu.conf

You can also pass optional parameters
  --delete                : Delete the disk image.
  --shortcut              : Create a desktop shortcut
  --snapshot apply <tag>  : Apply/restore a snapshot.
  --snapshot create <tag> : Create a snapshot.
  --snapshot delete <tag> : Delete a snapshot.
  --snapshot info         : Show disk/snapshot info.
  --status-quo            : Do not commit any changes to disk/snapshot.
  --fullscreen            : Starts VM in full screen mode (Ctl+Alt+f to exit)"
  --no-smb                : Do not expose the home directory via SMB.
TODO
- Create desktop launcher for a VM
- Improve disk management
- Add USB pass-through support
- Fix Virgil 3D on EFI boot
- Add Windows support
- Get QEMU
-audiodevworking for audio input - Make display configuration more robust
- Improve snapshot management
- Improve stdout presentation
- Make disk image size configurable
- [Add Faux OEM](# https://code.launchpad.net/~ubuntu-installer/ubiquity/+git/ubiquity/+merge/379899)
- Improve SMB Management